Powerful Logos: How To Nail The Design Process
Every graphic designer has a different process and method for developing a logo, brand and identity for their clients. Since the first time I designed a logo in my high school visual communications course over twenty years ago, I’ve been working hard to dial my logo design process and make it something seamless, efficient and enjoyable for everyone involved. I remember the early days of my design career – the heartbreak over endless logo revisions and the frustration of being asked to start over after totally missing the mark on a logo concept. All of these painful learning experiences lead me to refine my process and increase my success rate of happy logo design customers. I’m proud and excited to share an inside look to my step-by-step logo design process.
Phase 1: Discovery
Research:
I ask the client to complete a project brief which asks questions about the client’s goals, audience, competitors, style and color preferences, etc. (You can download my free sample brief template here) I’ve spent years dialing my project brief to make sure I have all of the information I need from the client before getting started. This is a really important phase of the project and I always encourage my clients to be really thorough and thoughtful about their answers and include all stakeholders of their organization to make sure everyone is on the same page about the goals of the project.
Once the project brief is completed, I review all of the answers and prepare any follow-up questions for the client which we go over in an hour-long discovery call. The discovery call is also a good opportunity for me to have a candid conversation with the client about their brand and goals – there are often a lot of key “AH HA” moments during the discovery call that set the stage for a successful design project. I take thorough notes, keeping an ear out for buzzwords or phrases that help spark ideas for the logo design.
I take the information from the project brief and our discovery call and do my own research to better understand my client’s market, audience and competitors. I consider what other logos my client’s will be compared to and need to stand out from and ways I can make them look unique, authentic and timeless.
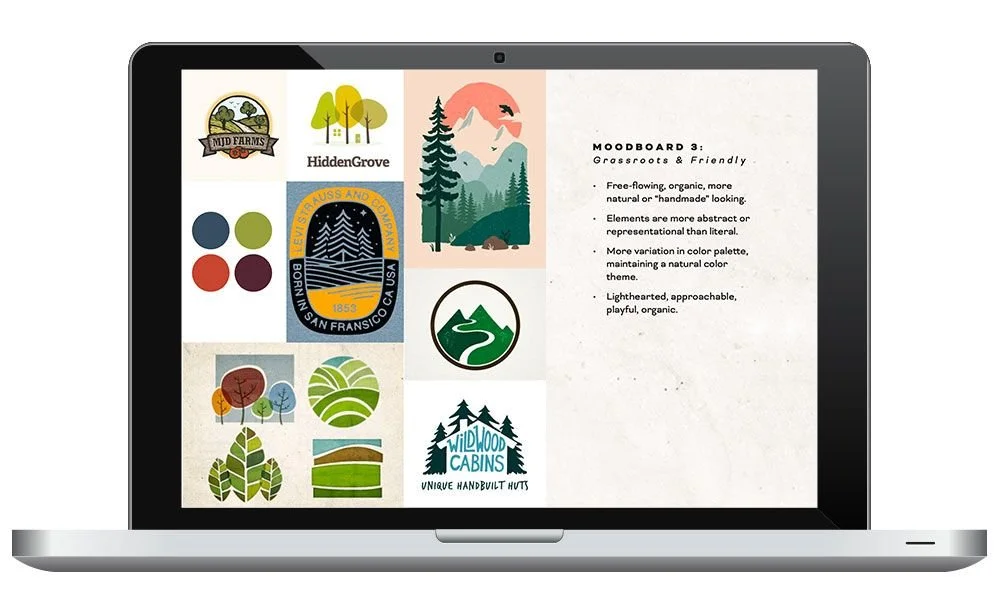
Moodboards:
After I’ve gathered all the information I need in the research phase, I prepare three initial moodboards for the client to review. These include curated suggestions for color palettes, design styles, typography and overall look and feel based on the information I’ve received from the client and the research I’ve done on my own. Using sites like Pinterest and Google, I can share existing works with the client to help them understand different visual styles and creative approaches.
Their feedback on the moodboards gives me a solid idea of what they do and don’t like and acts as a navigation piece for me during the concepting phase.
Phase 2: Concept & Design
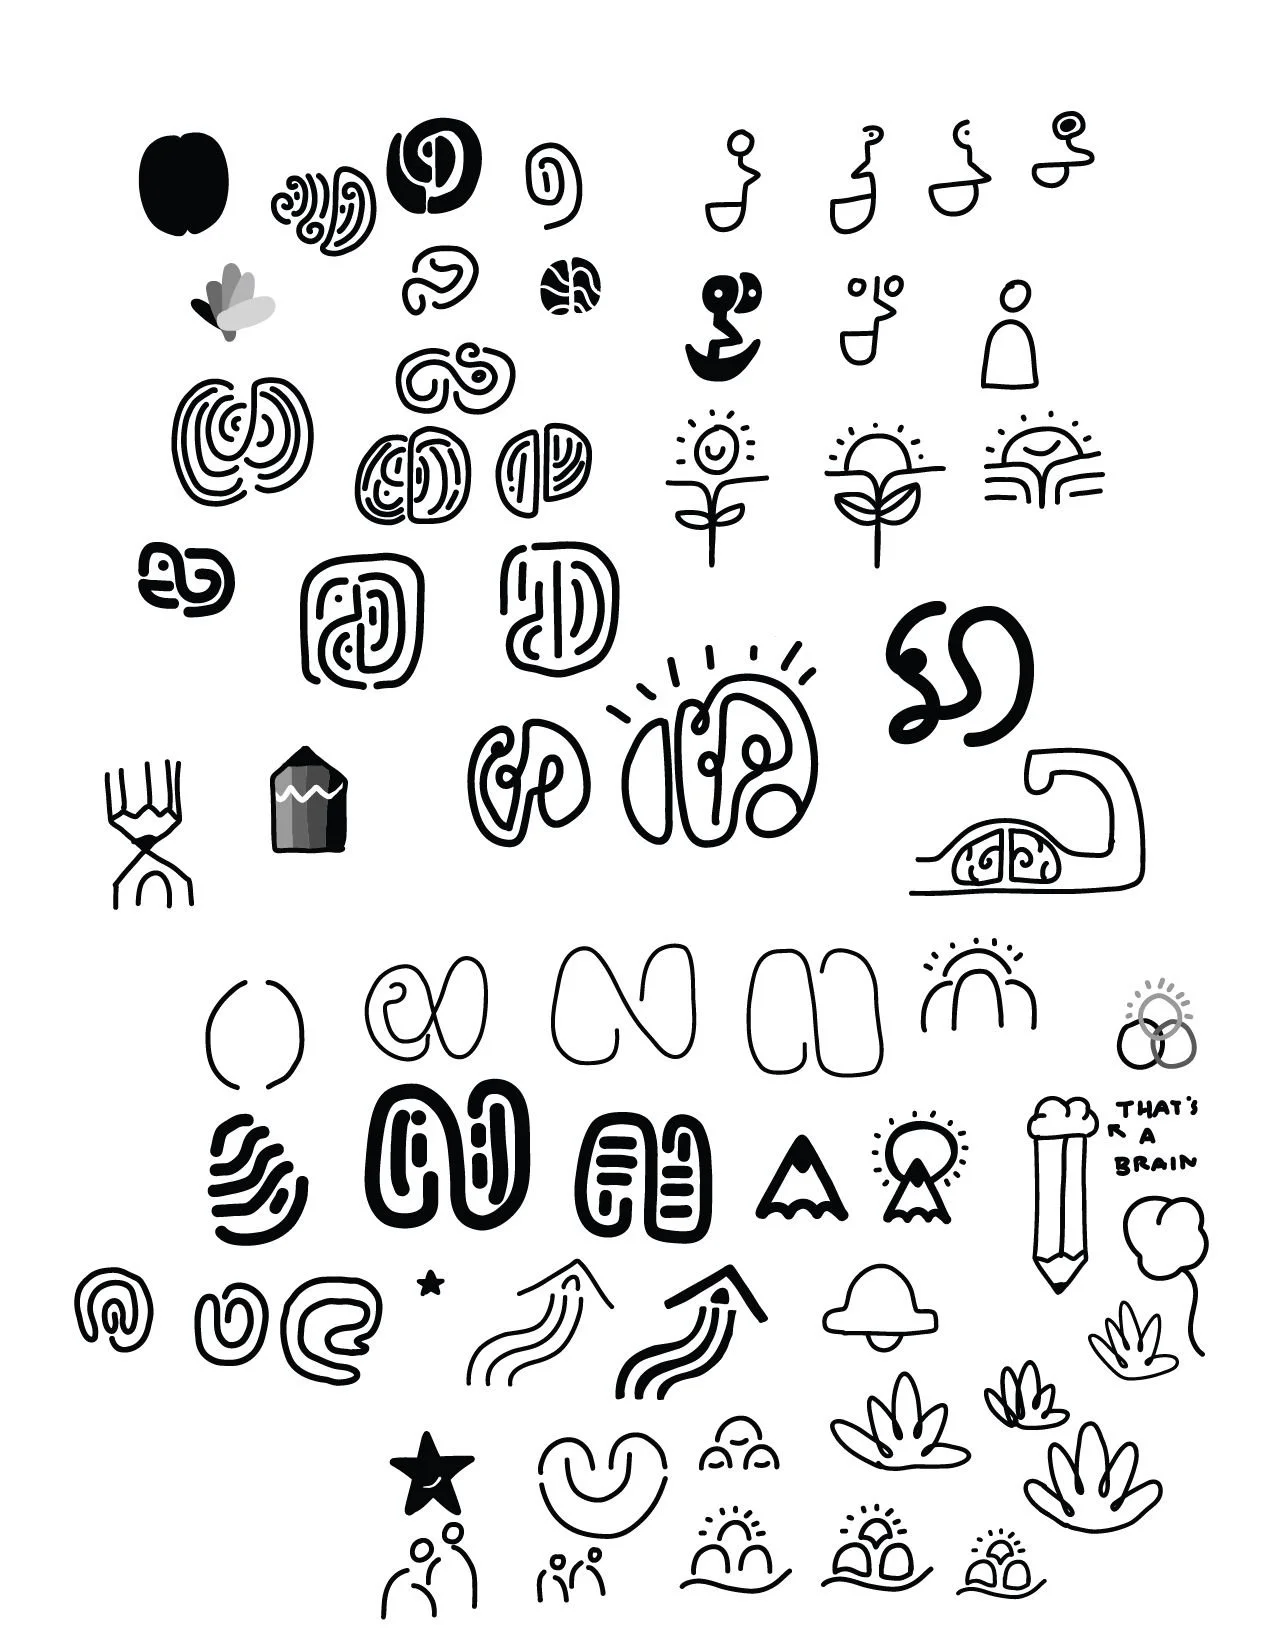
I typically start the design phase with concept sketches using pencil and paper. It's super helpful to step away from the computer and just let the ideas flow without the distraction of my computer or the internet. I find myself most productive working on sketches outside in nature or while having a beer at a brewery – somewhere away from my normal workspace. Sometimes I just doodle, let myself play and work on putting everything from my brain onto paper, even the bad ideas.
I take the best concepts and draw them with an Apple Pencil on my iPad so that I can easily add color and manipulate designs. I choose the strongest concepts and bring them into Adobe Illustrator to be cleaned up and finalized for presentation.
In my standard logo package, I include three logo concepts. This has proven to be the perfect number of ideas to share with a client. I’ve found that sharing more than three concepts can be overwhelming and makes the selection process more difficult for the client. Even if I come up with five really awesome designs, I consider it part of my job to narrow it down to the top three logo concepts based on what I think will work best for the client’s brand. It can be difficult to narrow it down sometimes, but it’s an important piece of the process.
I present the three logo concepts in a PDF showing the different variations of the logo – one color, reverse, with and without a tagline, stacked and horizontal versions, etc. I also include a few mockups of the logo superimposed on things like a t-shirt, notebook, travel mug and website. This way the client can see the logo design with some context. This part of the presentation is helpful for the client, but it’s also helpful for me to check my work and make sure each logo concept looks good as a one-color logo or that it will still be legible when scaled down to a smaller size – like on a website header.
Phase 3: Refine
The client and I work together to narrow down the concepts to a single favorite logo. From there, I make any necessary tweaks to the colors, fonts, graphics, etc. to make sure the design is perfect. It often takes one-two rounds to reach approval.
Phase 4: Deliver
Preparing the final logo package requires a lot of time and attention to detail – which is why I often build in 7-10 days to deliver this portion of the project.
First, I export the various logo files for web and print applications. .EPS, .JPG, .PDF, .PNG files. Additional logo files are created for the full color, one color and Pantone logo and any logo variations i.e. icon, wordmark, vertical and horizontal versions. Depending on how many variations of the logo there are, there might be 80-100 logo files that need to be exported and prepared for the client!
Second, I prepare the logo style guide. This includes logo variations and usage suggestions, font pairings and color values for print and digital.
Once the finishing touches are made and everything is ready, the final package is sent to the client.
Don't forget to download your free sample project brief, click here
I’m Margo! A graphic designer who works with conservation-minded nonprofits and brands on projects like logos & branding, annual reports, maps, and infographics. I work with my clients to create beautiful and meaningful design that amplifies the marketing efforts it takes to ignite action and change.
If you’re ready to work with an experienced designer on your logo design or rebrand project, I’d love to set up a time to chat!